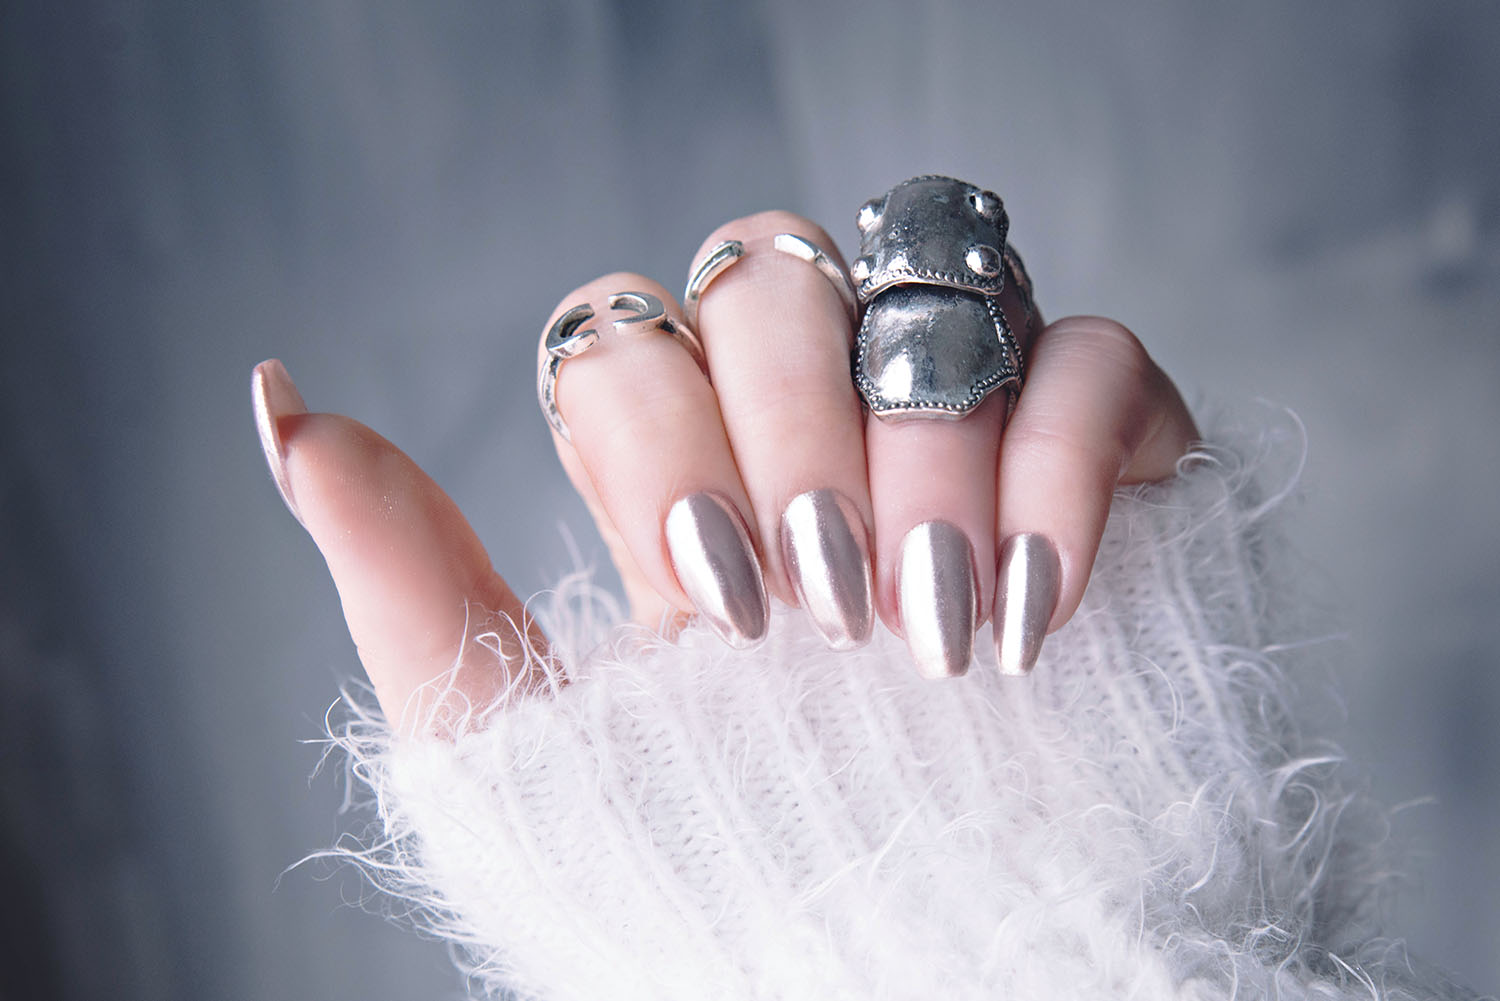
Are you also obsessed with mirror nails or chrome nails? They are so shiny that I can't get enough! Luckily enough it's very easy to get the true mirror chrome finish at home. I will show you how to get this eye-catching trend in six easy steps.
To get started with this chrome nails tutorial, you do, however, need some products. But don't be afraid, all the steps are simple. And with all the material included, this is still cheaper than going to the salon – especially considering that you can use the products again and again.
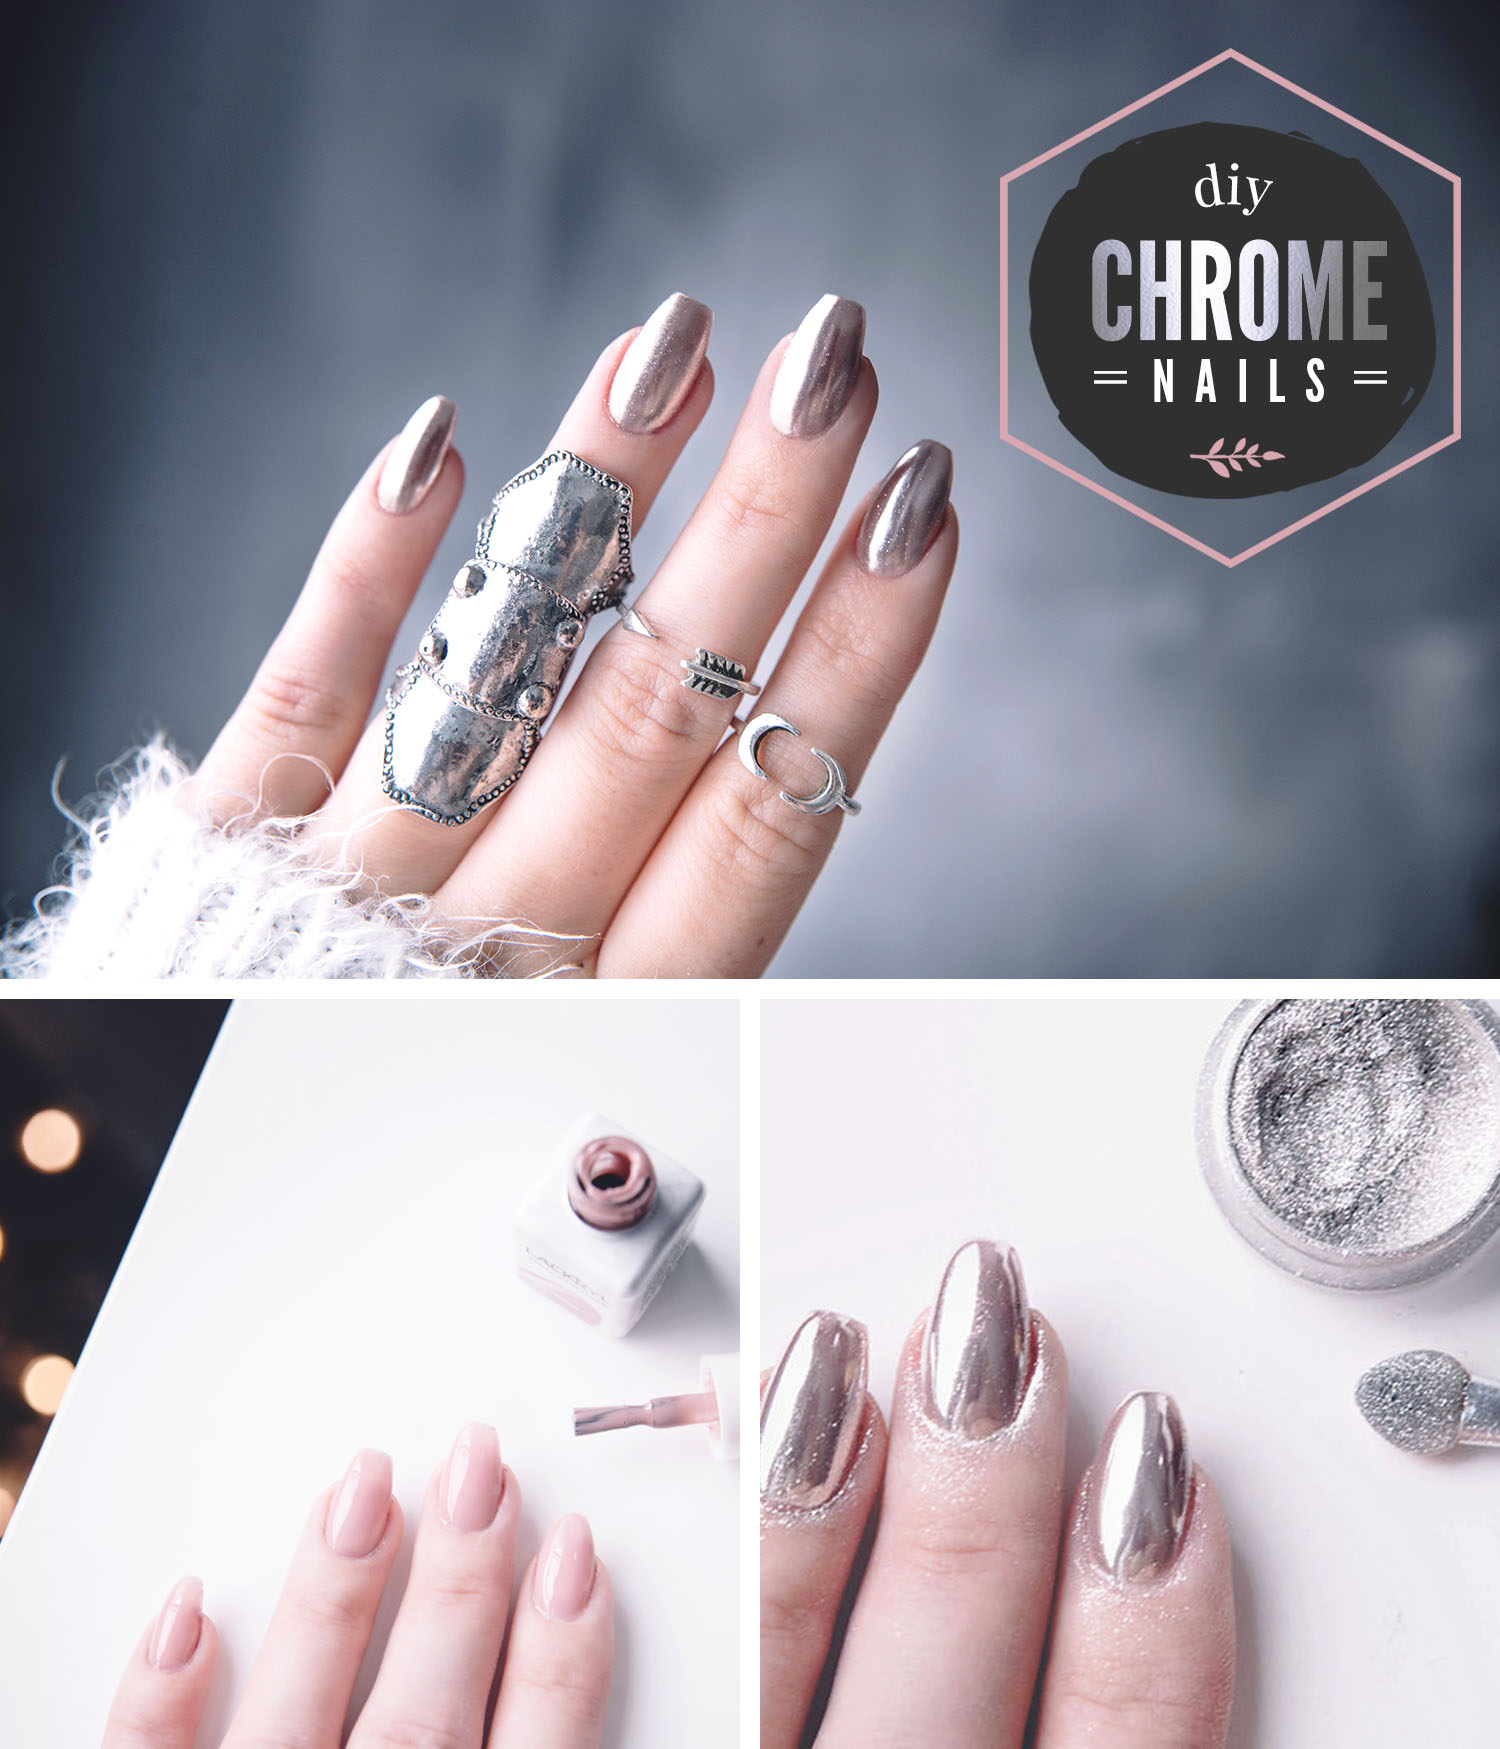
How to do Chrome nails at home – in 6 easy steps!
What you need
- Gel polish*
- Base Coat
- Chrome pigment
- UV- or LED Lamp
- Buffer
- Top Coat
*In this tutorial I have used Lackryl. It's a new Swedish acrylic polish that has everything in one bottle. You don't need to apply base coat, primer and top coat – but you can, of course, use traditional gel polish as well. If you, however, come across Lackryl I would definitely recommend it as it's makes everything even easier and faster.
But as it's not available to the rest of the world yet, I will describe all the steps for gel polish instead.
Before you begin: Start with prepping your nails
Before we start this tutorial you need to have clean nails. So take the time to cut, file and shape your nails. Once you have the basic shape to your nail, use a cuticle stick to push back any skin off your nail plate.
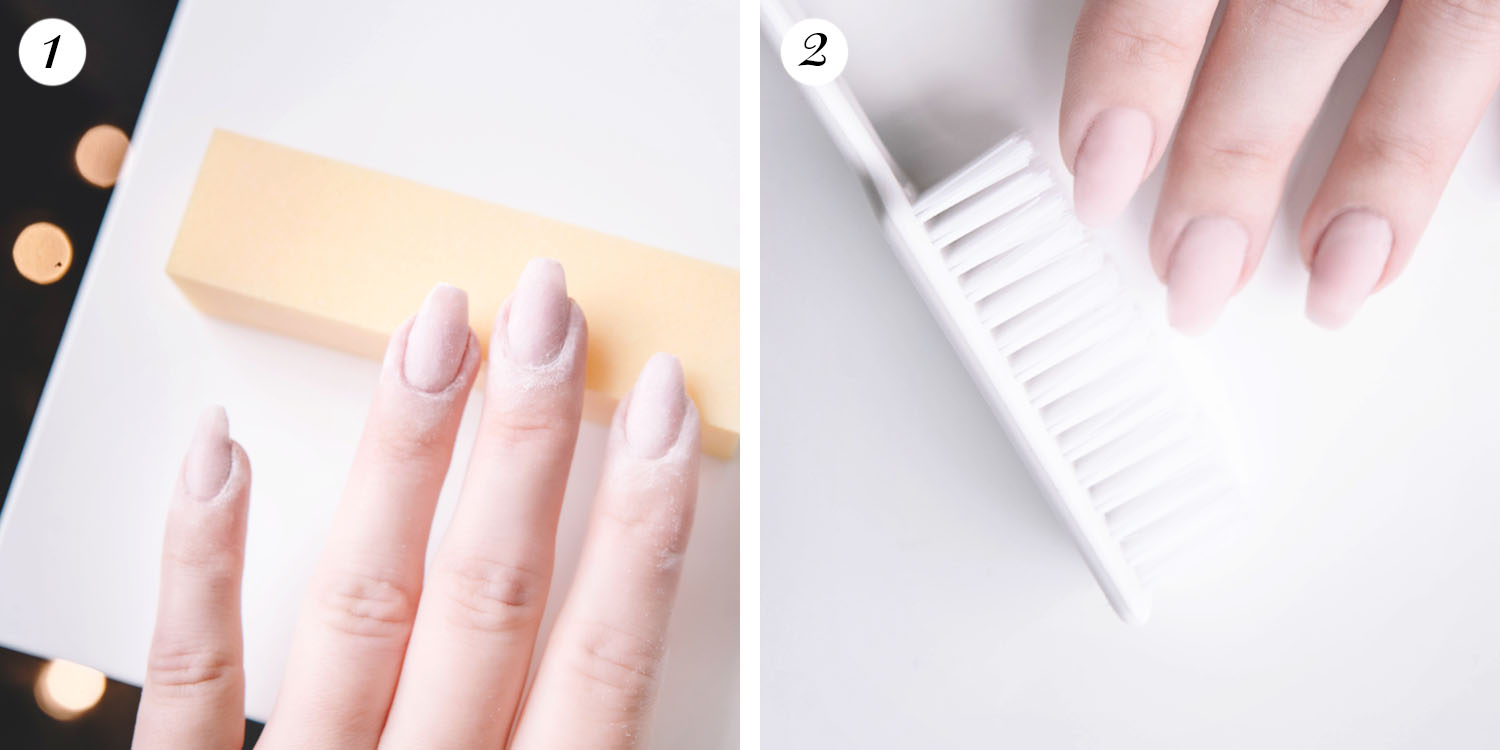
1. Buff your nails
Gels does not stick to “shiny” so gently buff your nails with a buffer.
2. Clean away the nail dust
Use a soft brush to remove the nail dust.
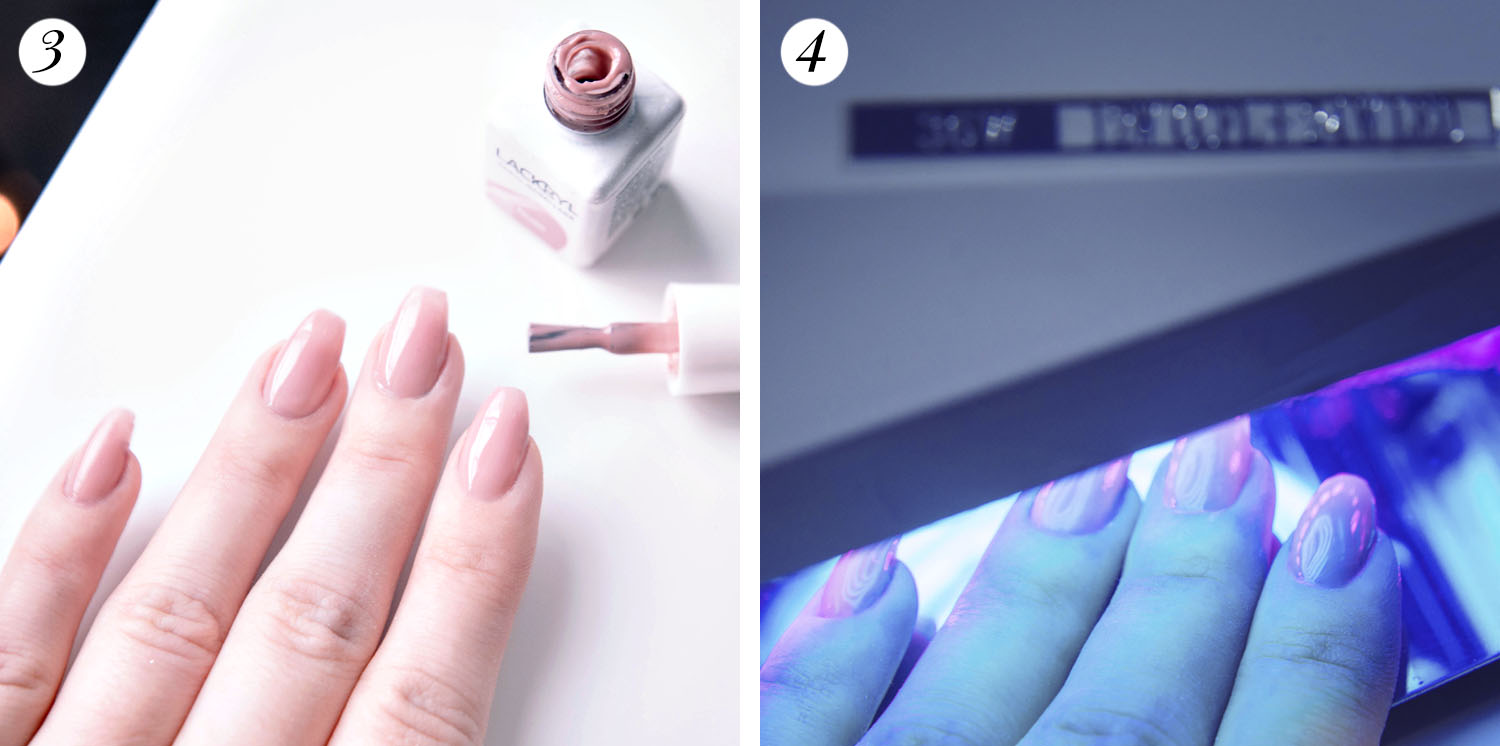
3. Apply a thin layer of polish
So as I'm using Lackryl I only apply Lackryl in this step. But if you are using a gel polish you need to first apply a primer, let it dry, then apply a base coat and cure it before you apply your gel polish. Two things to keep in mind is to apply a very thin layer of any gel and to keep a small distance away from the edge of your nail.
4. Cure under UV or LED lamp
Follow the gel polish manufacturers instruction and cure your nails in the light for the recommended time. Repeat with a second coat.
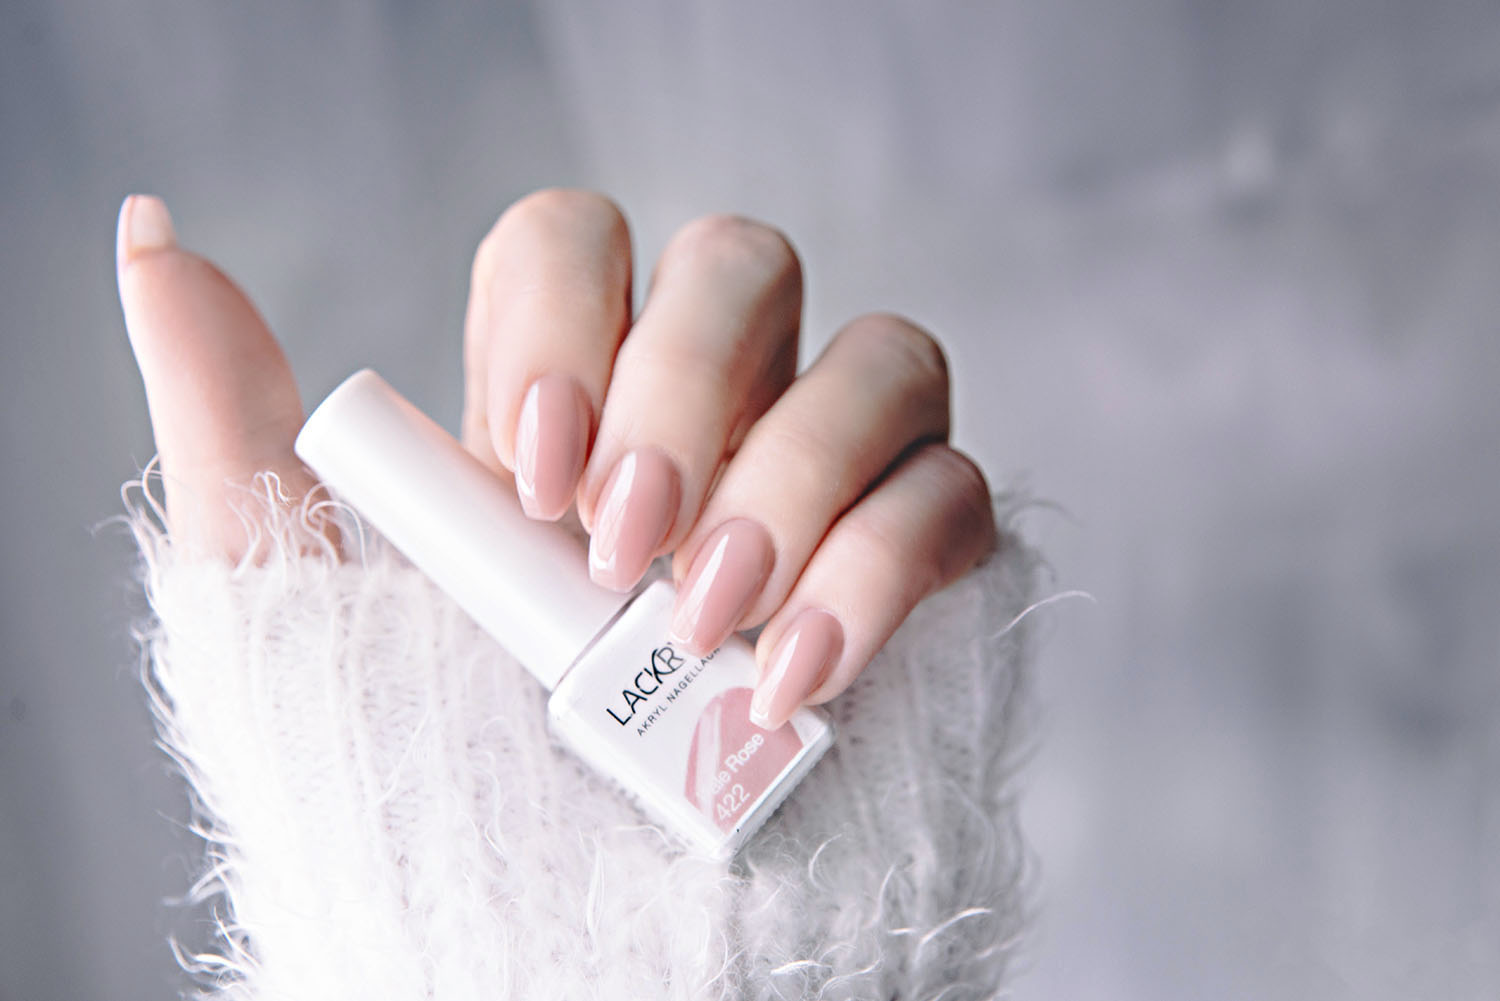
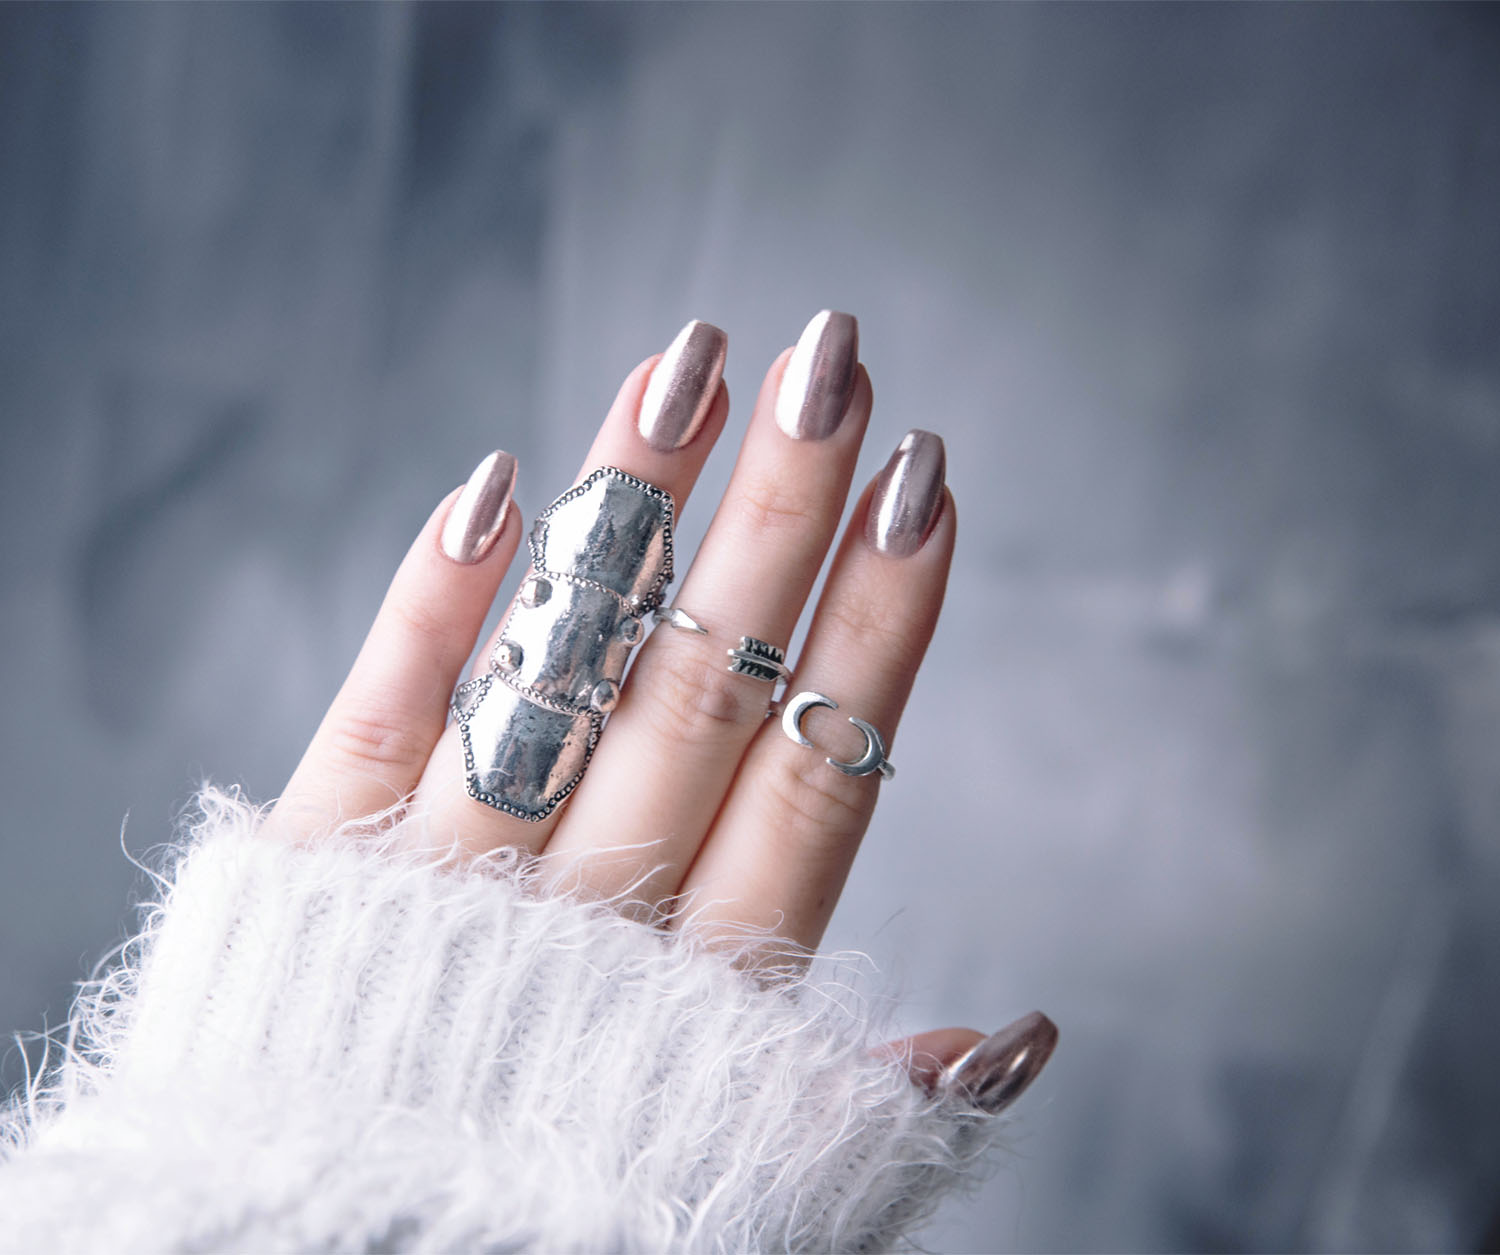
This is how my nails looked like after 60 seconds, having applied one coat of the color Pale Rose from Lackryl.
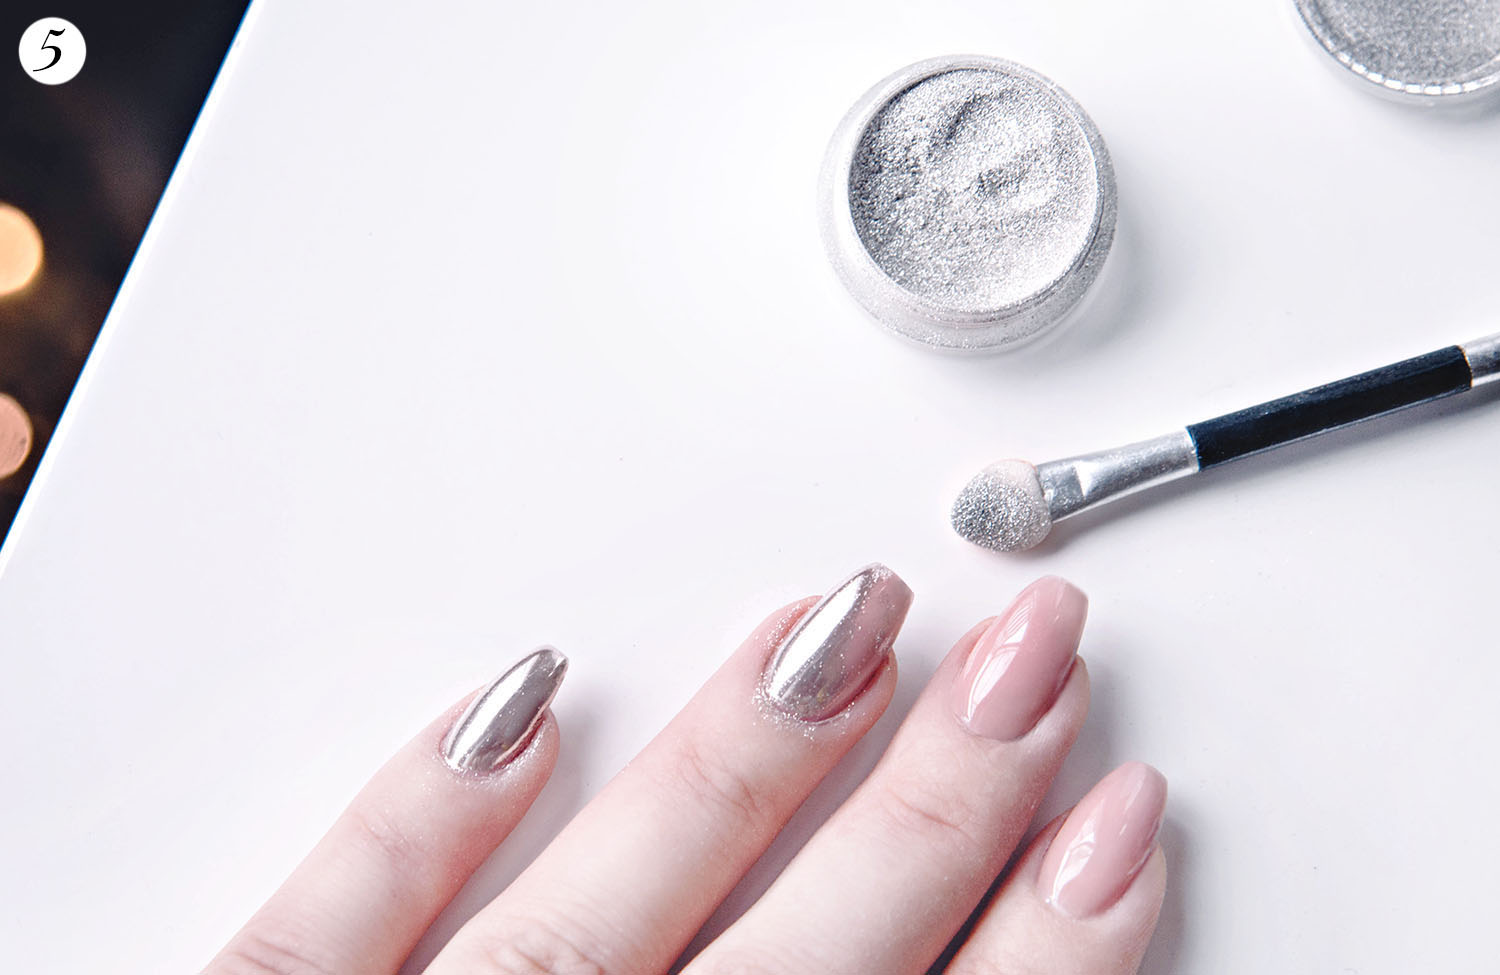
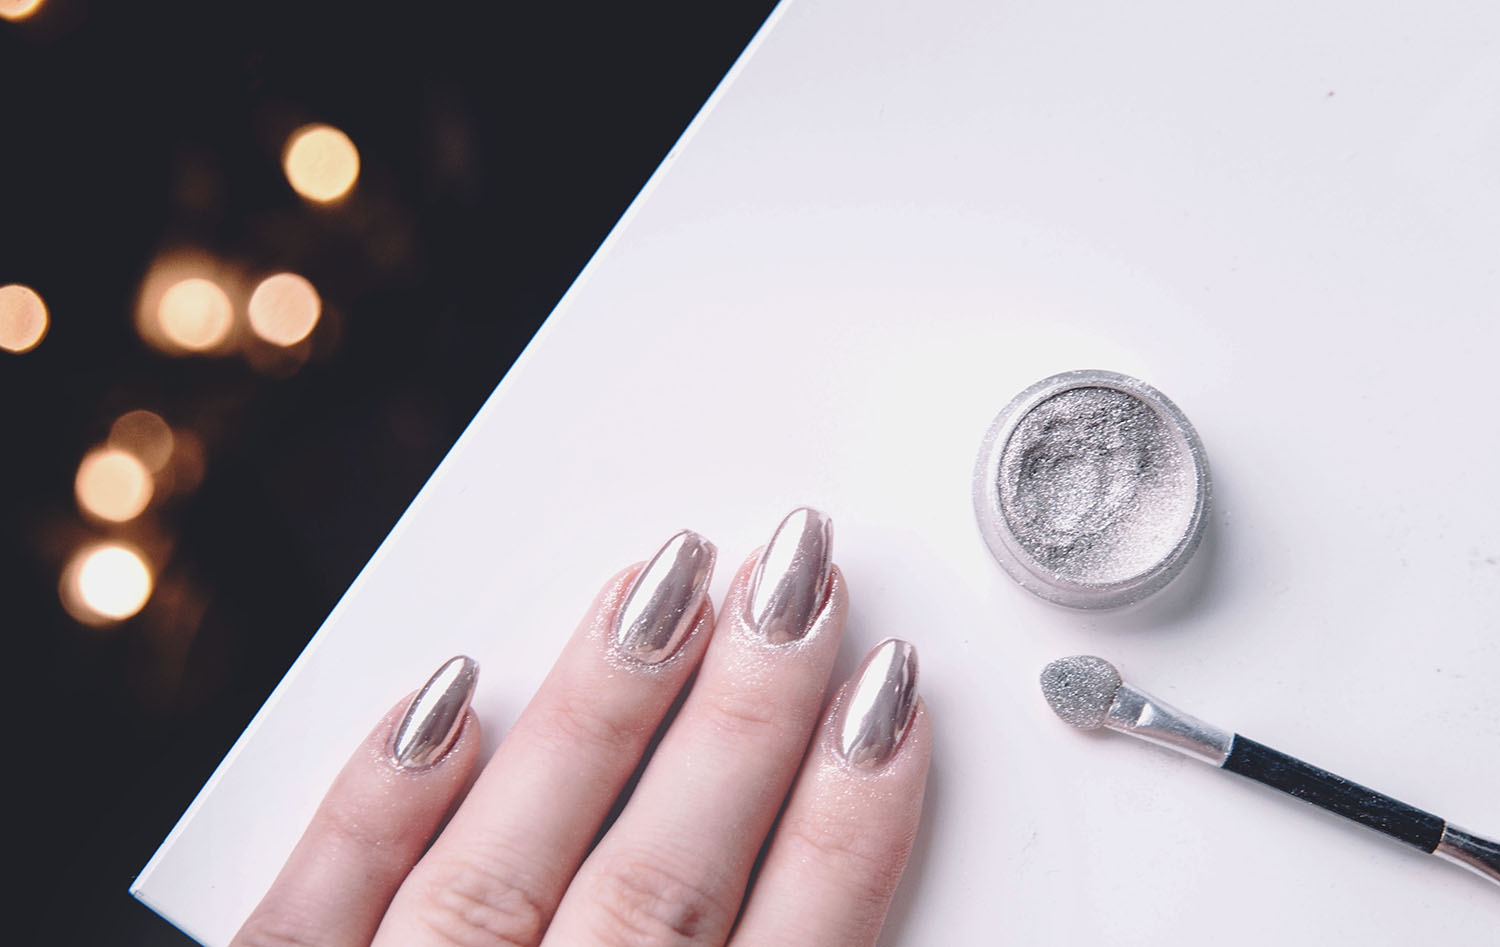
5. Apply the chrome pigment
Now to the really fun part! Use a little applicator (usually comes with the chrome pigment) and wipe the chrome powder across the nail until the nail begins to reflect light. This step is really hypnotizing. It's almost a pity that it goes so fast to get the mirror finish on all nails.
The chrome pigments are just so cool. Even though they cover the whole polish, feel free to experiment with the pressure and create different effects or an ombre look with your applicator.
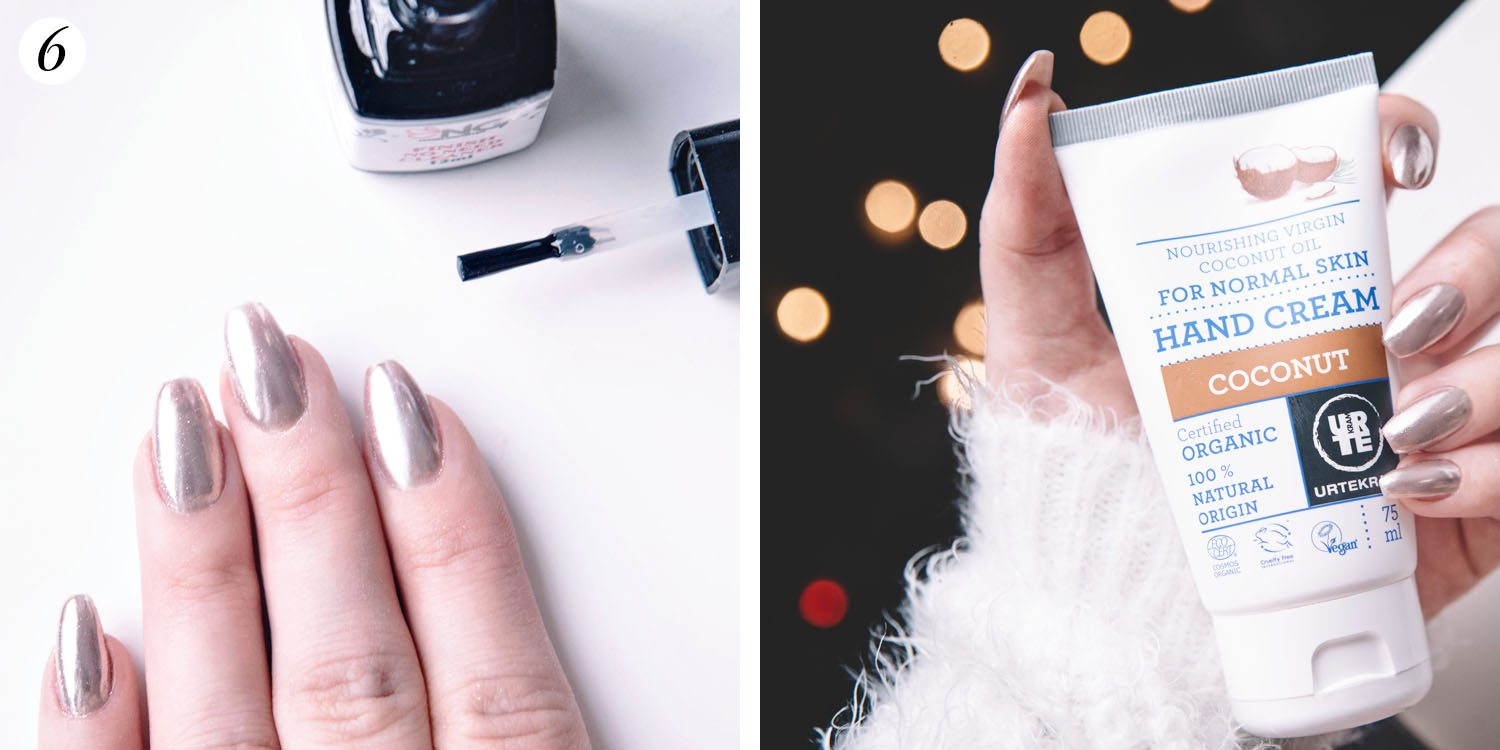
6. Apply your top gel coat
Apply a thin layer of a top coat and cure it in the lamp. Some gels leave a sticky layer on after curing the top gel. If this is the case, simply take a cotton ball dipped in isopropyl alcohol and wipe over the sticky surface.
Finish off your chrome gel manicure by applying a cuticle oil and massaging in some hand cream to get that extra salon finish.
Done and done! You now have some really eye-catching nails that will last for around a month.
You can also make Chrome Nails with Lachrome
Check out my video tutorial to see how it's done: